Go to... | Start A New Topic | Search | Notify | Tools | Reply To This Topic |
| And so it begins. Breakaway radiator change | Login now/Join our community |
"First Year of Inception" Membership Club  |
Step 1, take lots of pictures. 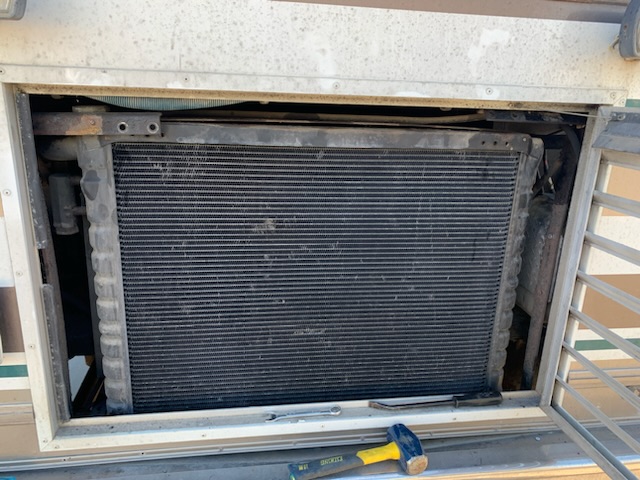 | ||
|

 6/19 6/19 |
Eagerly awaiting to see your progress I'm planning on removing ours and having it serviced . While I'm there , I am going to remove the air conditioning system from the engine . It doesn't work and I see no need in repairing it , the roof airs do us just fine . With the condenser out of the way , the radiator and intercooler will get better airflow Harold Cat Sam Miniature Schnauzer 3.8.2009 - 9.24.2021 93 30ft Breakaway 9209-3823-30BS-11B KE5WCW | |||
|
As they say, all Barths are different. My AC condenser was mounted on the left lower side behind the rear wheels. My Radiator system WAS a 3 stack system, from the fan first the turbo intercooler, then the trans cooler, then the engine radiator. My trans cooler was huge but was not needed to get that much cooling, my trans never got over 130 degrees. I took the system apart and took out the trans cooler and mounted it where the AC condenser was located. I had to make a separator between the turbo intercooler and the engine radiator as the shroud would not be located correctly around the fan, with the trans radiator out of the system, I can now more effectively clean the intercooler and engine radiator and the engine runs much cooler (stays at 180 degrees). I have 2 large electric fans on the trans radiator but have never needed to turn them on even when outside air temp is over 100 degrees. Ed 94 30' Breakaway #3864 30-BS-6B side entry New Cummins 5.9L, 375+ HP Allison 6 speed Spartan chassis K9DVC Tankless water heater | ||||
|
Hi Ed, Harold, & Eric, Interesting that our '93 Breakaway was manufactured before Harold's but the radiator set is configured like Ed's which was built approximately forty units later, again demonstrating that no two were alike, even in the same model. Addressing the radiator removal, when we tackled this several years ago, I had a laundry list of mechanical issues I wanted to update. Those including radiator, KDP, water pump, alternator, air conditioning pump, vibrating out of balance damper, leaking exhaust manifold, idler pulley, repair battery boxes, etc. Therefore, I removed the tow hitch, the bumper, the aluminum bezel & door around the radiator, & the 2x2 steel tubing(corroded & replaced with aluminum) & the aluminum sheet from the lower belt molding down to the bumper. Removing all this was not that difficult(pays to have some good impact wrenches), but made access to those things much easier to accomplish. As a note: while working from above & below, removing the cracked & corroded exhaust manifold was the most difficult part, however, replacing the original brick-like manifold with a DPS FUMMINS swap kit manifold was a noticeable improvement. What a sweet looking & fitting part it is. Lastly, we also removed our factory AC pump as we rarely used the dash AC & using the venting on the rear left side for the transmission cooler is really smart & creative, but since I didn't do that, I'm eyeing up that space for my future mini split Good Luck, John | ||||
|
 3/11 3/11 |
Merry Christmas Ed! Tom & Julie 1993 32' Regency Wide Body, 4 speed Allison Trans, Front Entry door, Diamond Plate aluminum roof & 1981 Euro 22' w Chevy 350 engine and TH 400 tranny | |||
|
Thanks Tom! Merry Christmas to you and all Barthers! Guys I have had server issues and think it is all better but I still am working to get my files back in order. I should have pictures of my procedure later by this weekend. The first time I removed the radiator, I removed the triple stack together, I did that because there was a tight seal between all three radiators and I didn't think I could reseal properly in place. Drill out the rivets that hold the rear radiator door, be careful to use a smaller drill. On mine the rivets were not centered and at the edge of the body retaining surround. More on the later. Remove the door assembly. I also removed the bumper as the radiator on mine extended well below the top of the bumper The first thing that is necessary is to release the fan belt tensioner and remove the belt or at least take it off of the water pump pulley. This is to allow the fan to be rotated and the 4 bolts holding on the fan can be removed. The fan is VERY HEAVY! There are bolts along the top and bottom of the shroud that will have to be removed to get the shroud backed off the radiator assembly. Once the fan has been disconnected and the shroud disconnected it should be possible to remove the fan. I don't remember getting the original fan out before I disconnected the shroud. It may have been possible. Highly recommended as the fan being so heavy can do a lot of damage flopping around within the shroud! Drain the coolant if not done yet and remove the coolant hoses to the engine. Carefully remove the transmission cooler lines but first clean the connections and and wrap the ends (radiator and hoses) to keep out any dirt or crud into the transmission. Disconnect the turbo from the intercooler, remove hoses on both sides. here again I recommend cleaning around the hoses and push a good large rag in each end of the intercooler connections. Once that is all freed up there are two metal braces attached by two bolts on each side top of the radiator and one larger bolt from these braces attached to vertical braces that steady the top of the radiator. Take those 2 out on each side and loosen up the larger single bolt at each end of the brace and rotate it up and out of the way. There may be a vertical piece on each side of the radiator and that must be removed also. NOW there are 2 bolts on the bottom of the radiator, these bolts go thru 2 "U" channel mounts mounted on the very rear crossmember, do not wiggle the radiator assembly until the nuts on these bolts are removed. Now comes the HARD heavy part. The radiator must be raised up a good 2 inches and moved backward to get the 2 lower bolts out of the subframe attachment "U" channels. Then the radiator assembly has to be tipped backward moved slightly to the passenger's side. The radiator to connection to the engine comes out of the side of the radiator on the driver's side and must clear the radiator opening when tilted back. It will take a lot of moving around to get it thru the opening safely. OK enough for now, I will try to get pictures of my first removal process. I have made some changes to simplify removal and installation so I can remove (3 Hrs) and replace (4 HRS) the entire radiator/shroud assembly and without removing the fan. I will show these changes but I am not sure others will want to do this. Ed 94 30' Breakaway #3864 30-BS-6B side entry New Cummins 5.9L, 375+ HP Allison 6 speed Spartan chassis K9DVC Tankless water heater | ||||
|
| Official Barth Junkie |
I have always preferred simple solutions to engineering problems, ie engine mounted fan and simple belt drive. My Monarch has the side mounted radiator setup which then requires a remote fan and hydraulic fan motor. The downside is the additional complexity and the need for the hydraulic fan motor with supply valve and associated pressure lines. OTOH, access to the rear of the engine is vastly improved. Having replaced my radiator in a parking lot it looks the side mount job is much easier. No doors or panels to be removed. No need to remove fan. Removal straight out the side. That and the complete access to the engine compartment have convinced me I am fortunate to have the side mount setup. I did replace the fan motor. I secured a spare unit for the sake of my anxiety. (BTW, side mount owners, the cheap eBay source is gone. The fan motors are becoming harder to find and more expensive.) Kudos to our members posting their creative solutions to the clearance issues with the rear radiators. There are many other owners who can benefit from your experiences. Have Barth, in residence. 9708-M0037-37MM-01 "98" Monarch 37 Spartan MM, 6 spd Allison Cummins 8.3 325+ hp | |||
|
Hello All, Eric, Ed wrote a very thorough description of removing the Breakaway radiator set. When I tackled this several years ago, I removed the hitch, bumper, aluminum radiator door, framework, & also removed the lower belt molding on both sides. The next step was to remove the lower L shaped piece of aluminum sheet metal which was above the bumper, & that exposed a 2"x 2" steel tube that went from the right side battery box to the left side battery box. On my coach, this 2"x 2" sheet metal tube(about 1/16" thick) was somewhat corroded near the battery box on both sides, so I planned on replacing it with 1/8" 2"x 2" aluminum. With all this removed & using a floor jack, it made handling the radiator set quite a bit easier. I made some custom aluminum brackets for the battery boxes when I reassembled it using the aluminum tubing. This also made it easier to access the front of the engine with virtually nothing in the way. Great time to check damper, water pump, idler pulleys, alternator, and to check & fix KDP. At this same time, I replaced my exhaust manifold(the old one was cracked and several exhaust gaskets were leaking). Again opening up the back of the coach made it a lot easier to reach this item & turbo charger. Several days ago, I posted a similar composition but it seemed to run afoul of the TOS(possibly because I mentioned the name brands of a few of the products I used ie the name of the exhaust manifold?) If you need any specific name brand review, should you decide to replace other items, please PM me & I'll be glad to furnish the info of the products I used. Good luck, Eric John | ||||
|
"First Year of Inception" Membership Club |
Well, after a 5 month break in Hawaii the radiator is finally out. Any suggestions of a good rebuild shop in the Phoenix area? 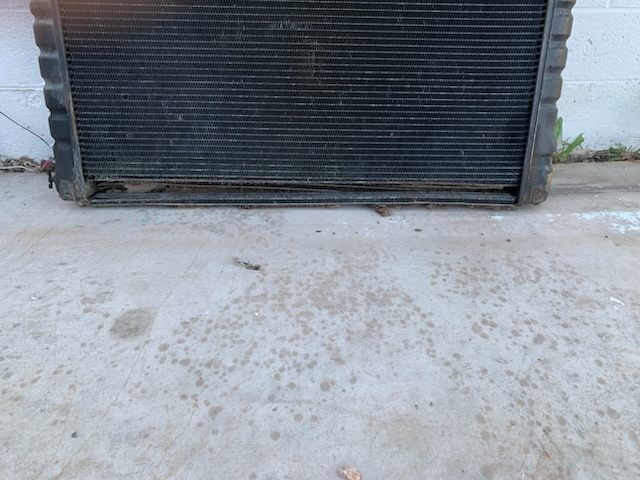 | |||
|
"First Year of Inception" Membership Club |
It’s KDP day. 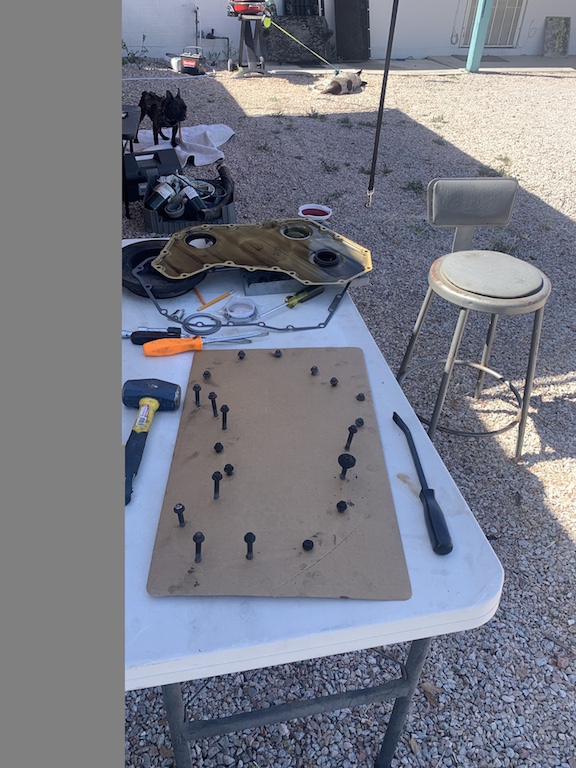 | |||
|
| 6/19 |
Now you're just having too much fun Harold Cat Sam Miniature Schnauzer 3.8.2009 - 9.24.2021 93 30ft Breakaway 9209-3823-30BS-11B KE5WCW | |||
|
"First Year of Inception" Membership Club |
After waiting a month for the shop to finish my radiator it’s finally here. 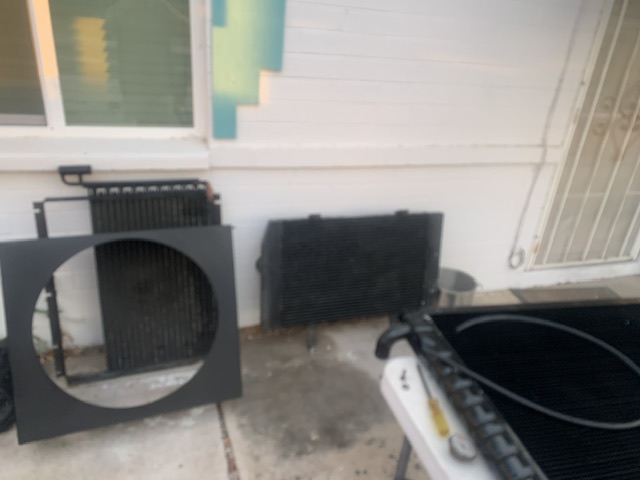 | |||
|
| Powered by Social Strata |
| Please Wait. Your request is being processed... |
This website is dedicated to the Barth Custom Coach, their owners and those who admire this American made, quality crafted, motor coach.
We are committed to the history, preservation and restoration of the Barth Custom Coach.
We are committed to the history, preservation and restoration of the Barth Custom Coach.